
DIY Concrete Pouring: Tips and Tricks for Lincolnwood Homeowners


Understanding the Basics of Concrete Pouring
Concrete pouring is a fundamental skill for any homeowner looking to tackle DIY projects around the house. Understanding the basics can help you create durable and aesthetically pleasing structures. Whether you're planning to lay a new patio, driveway, or a simple garden path, the principles remain the same. The process is straightforward, but attention to detail is crucial to ensure success.
Before you begin, it's important to prepare adequately. Make sure you have all necessary tools and materials at hand. Key items include a wheelbarrow, mixing tools, a trowel, and of course, the concrete mix itself. Additionally, you'll need to plan your project according to the weather conditions; ideally, pick a day when it's not too hot or rainy.
Preparation and Planning
Proper preparation is essential for any successful concrete project. Start by measuring the area where you plan to pour the concrete. Accurate measurements will help you determine how much concrete mix you'll need. It's always a good idea to purchase a little more than your calculations suggest to account for any errors or unexpected needs.
Next, prepare the site by clearing any debris and ensuring the ground is level. Use wooden stakes and string to outline the area. This will serve as a guide for your pour and help maintain straight edges. Compact the soil using a tamper or vibrating plate to create a solid foundation.

Mixing the Concrete
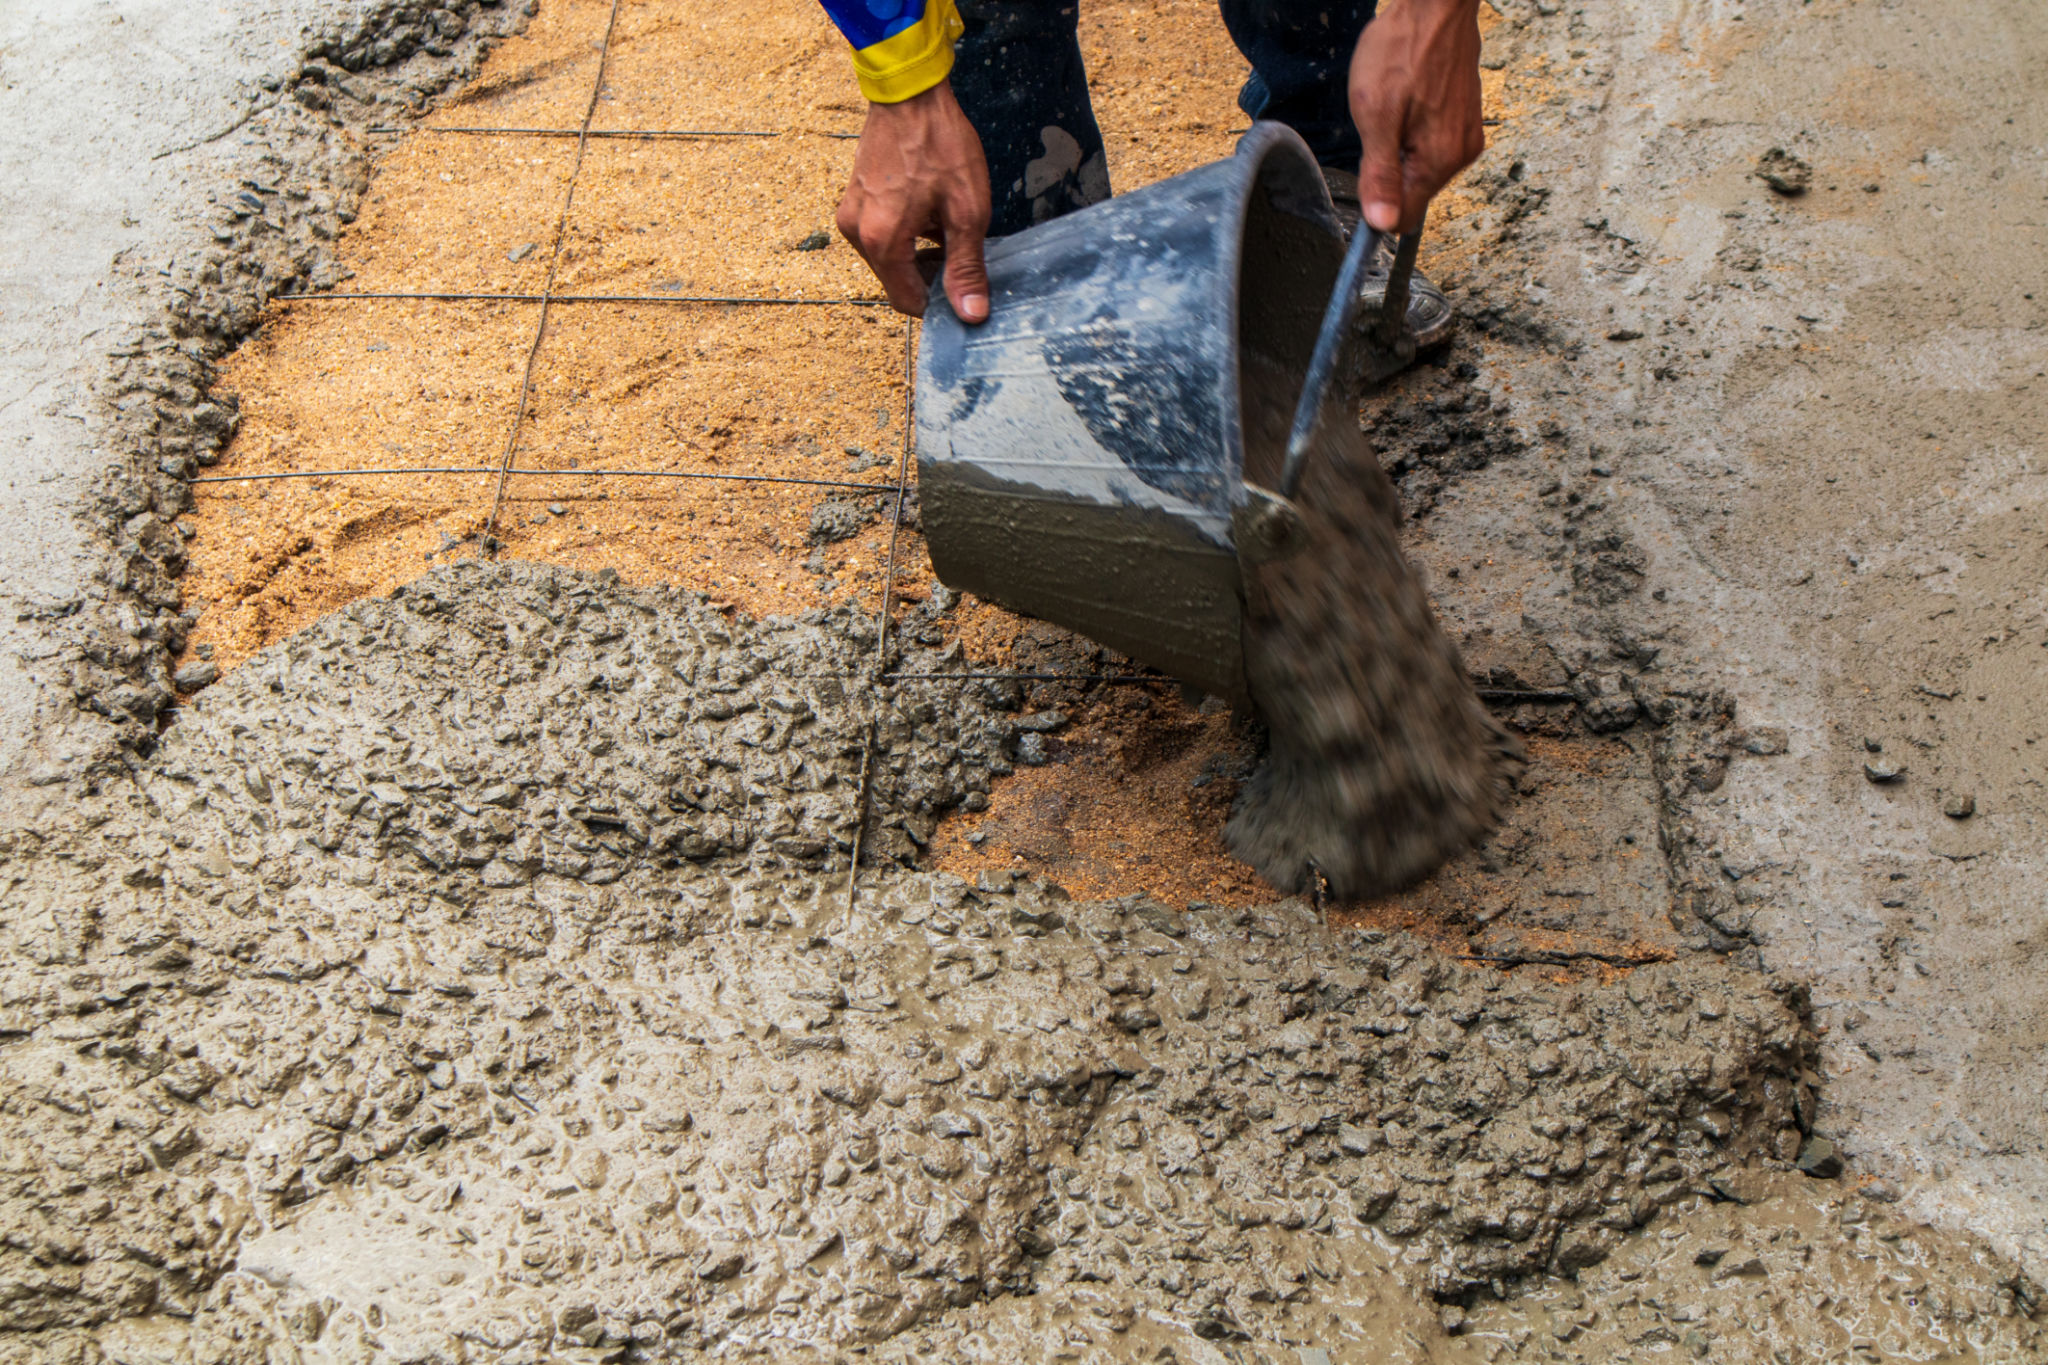
Once your site is prepped, it's time to mix the concrete. Follow the manufacturer's instructions on the concrete bag for correct water-to-mix ratios. It’s crucial to get this right for optimal strength and durability. Mix thoroughly until you achieve a consistent texture that is neither too runny nor too dry.
For larger projects, consider renting a concrete mixer from your local hardware store. This can save significant time and effort compared to mixing by hand. If you're planning multiple pours, ensure each batch has a consistent mix to maintain uniformity across your project.
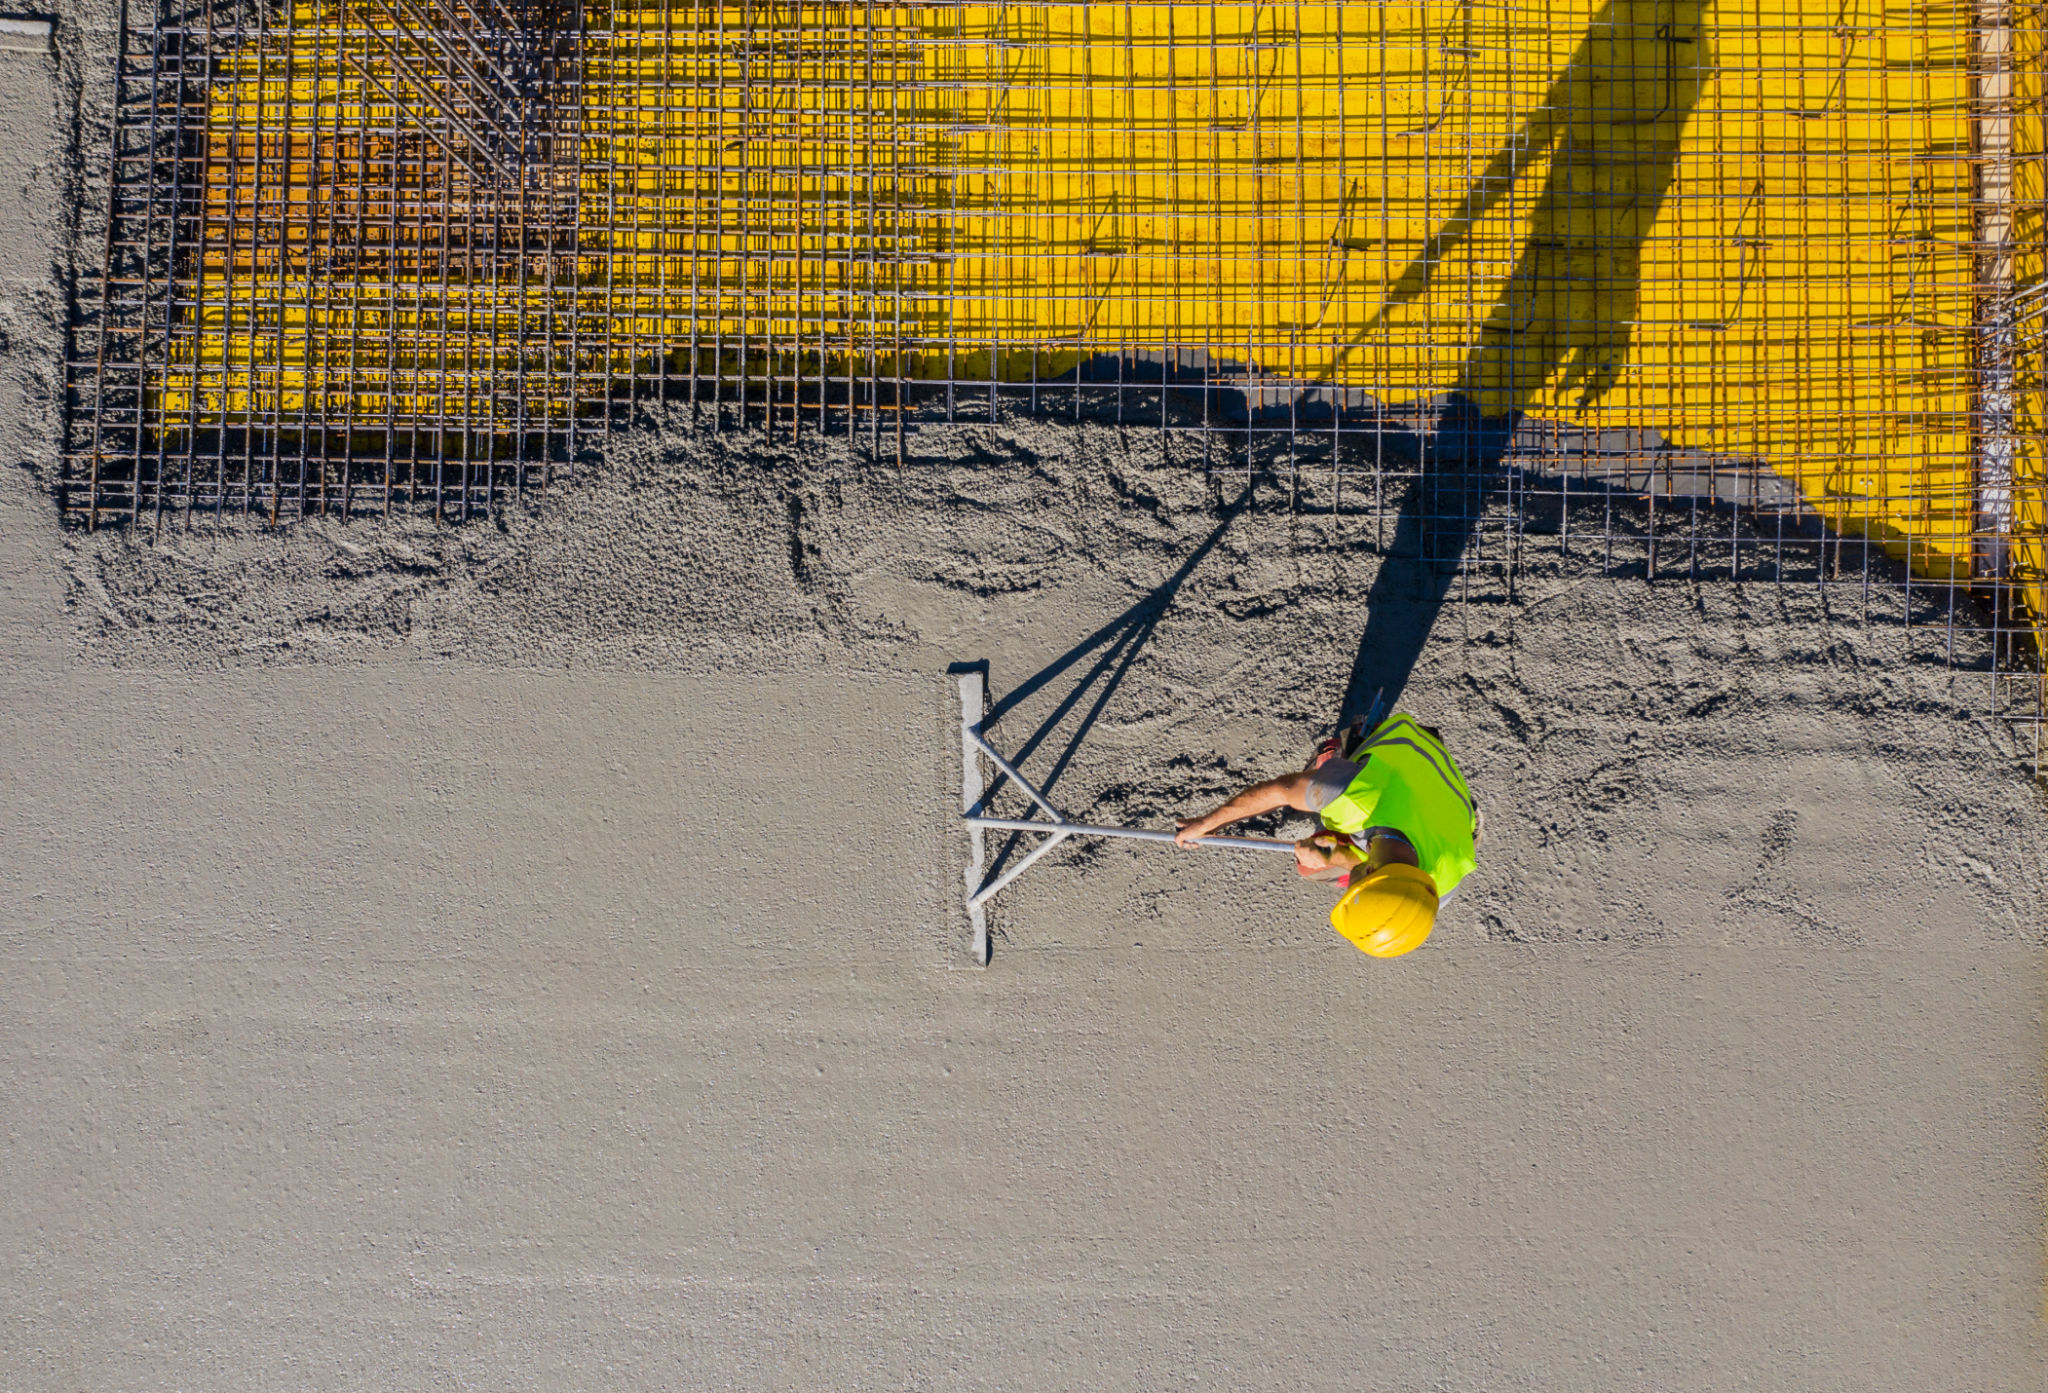
Pouring and Finishing
With your mix ready, begin pouring the concrete into your prepared area. Work methodically, starting from one end and progressing to the other. Use a shovel or rake to spread the concrete evenly and fill in any low spots as you go.
After pouring, the next step is to level and smooth the surface. Use a screed board to level the concrete by sliding it across the top edges of your formwork. Follow up with a bull float to smooth out imperfections and bring fine aggregate to the surface for a better finish.
Curing and Maintenance
Curing is a critical step in ensuring your concrete's durability. After finishing, cover your concrete with a plastic sheet or moist fabric to retain moisture as it cures. This process can take several days, but patience will reward you with a stronger finished product.
Regular maintenance will help extend the life of your concrete project. Protect it from harsh weather by applying a sealant once it’s fully cured. This adds an extra layer of protection against moisture and staining, keeping your concrete looking great for years.

By following these tips and tricks, Lincolnwood homeowners can confidently embark on their DIY concrete pouring projects. With careful planning, precise execution, and adequate maintenance, you'll achieve professional-looking results that enhance your home’s appeal.